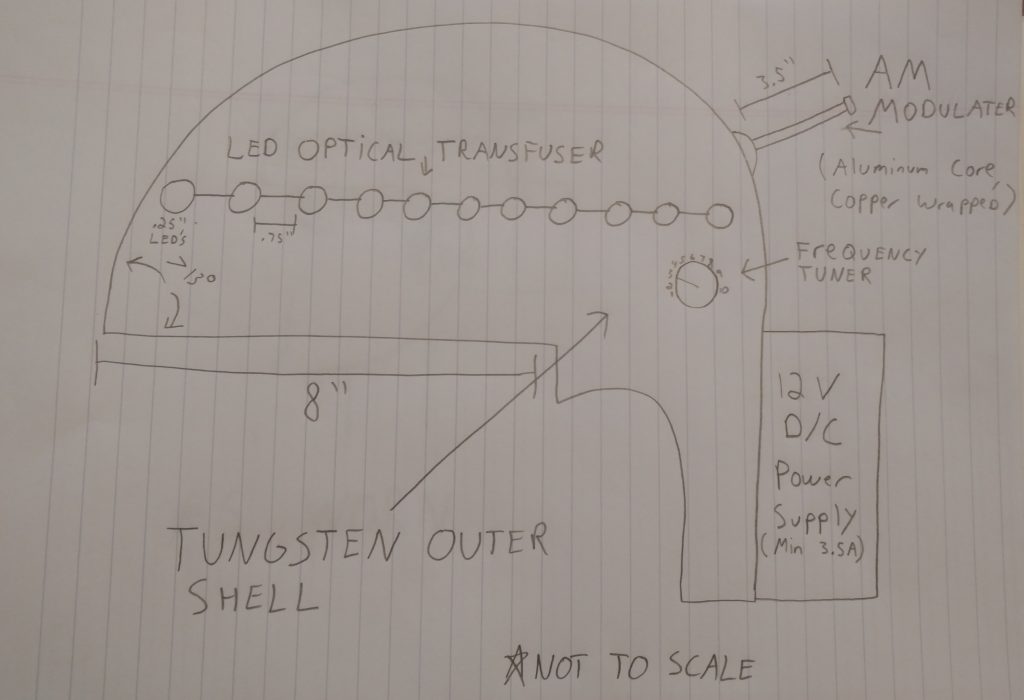
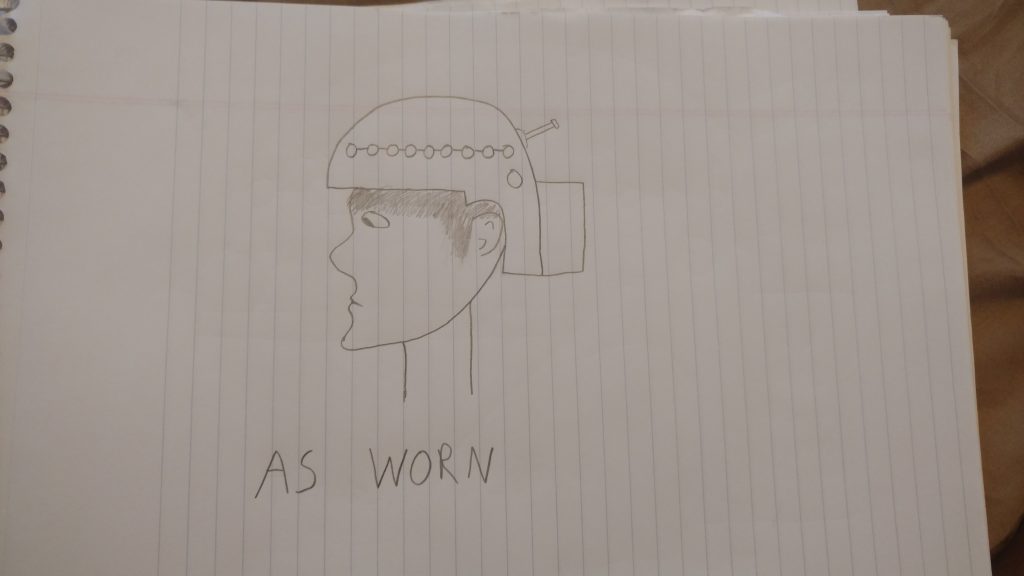
 An ongoing service we intend on providing our viewers is access to our schematics and plans for various entities that can assist us in our goals. This article is going to concern our Radio Wave Disruptor which I designed in 1986 as a part of a classified project during the Cold War. Although this technology is dated it is still applicable today if correctly assembled, this unit will provide you with a 25m “clear zone” radius which will disrupt any snooping devices or directional finding apparatus. I have provided the plans for the man portable version, a base station model which will provide 500m of clear zone is also available upon request but requires a considerable increase in materials and power consumption.
The schematic is complete and most of the parts can be sourced from your local Radio Shack. I recommend utilizing hard point connections with a soldering iron and a minimum of 18 gauge wiring. This unit will run for about 18 hours with a common 12v battery, plus or minus 2 hours due to temperature, exposure and humidity.
Attached below are the concept drawings, but first let’s get into construction of the Tungsten outer core. This is very important and should not be overlooked. Preparation of the rods is relatively simple and tungsten rods can be sourced locally in most circumstances.
1. Smelt the rods down into a completely liquid state by reaching a temperature of 3,422 degrees Celsius in an industrial grade smelter.
2. Pour a 1/4″ thick layer of liquid tungsten into a flat tray at least 24″ x 24″ and allow for cooling.
3. After the material has had time to cool and harden, begin hammering into shape. I find this job easier using a two man system after you get your helmet into it’s rough course. One man to wear the helmet while the other hammers it into place, adding a soft foam insert before taking this final step is recommended.
4. After fitting the helmet to shape, use an angle grinder to trim to specs and smooth any rough edges. Drill 4 1/4″ holes for rivets and rivet chinstrap into place. NOTE: Tungsten is a very dense metal which is perfect for our application but will prove challenging to drill through. Recommend using a diamond tipped drill bit.
5. Once completed, immediately begin wiring your components together and secure the battery storage box, antenna, and optical transfuser. Final weight for the design is between 35-40 pounds. I have modified mine from the original design to include a battery indicator light which has proven useful and gotten me out of more than one sticky situation.
 NOTE: Crudeness of drawing due to being completed in a Denny’s bathroom, all my original files were seized by the agency when I was ousted in 1993.

